

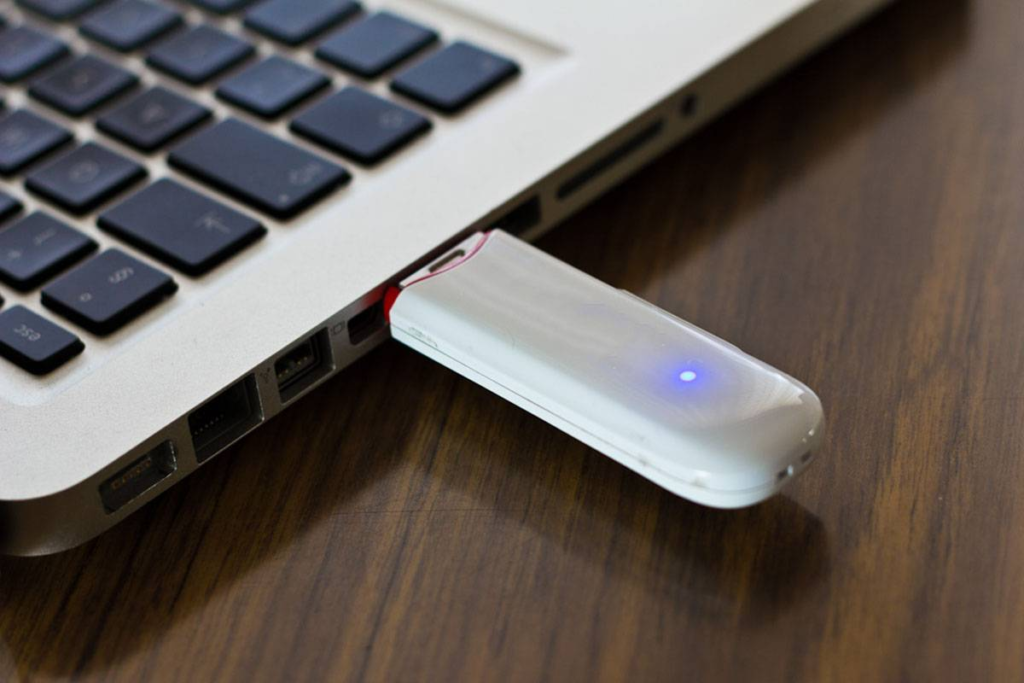
This guide explains how to copy a Linux image onto a USB key from a Windows or Linux system.
Prerequisites
- The ISO image provided by Nothing2Hide
- A USB flash drive(at least 4 GB)
- A Windows or Linux computer.
- An external USB wifi adapter Asus AC53 (or any wifi dongle atheros compatible)
- A text editor (for example, Notepad++ under Windows or nano/gedit under Linux).
1. Creating a Bootable USB flash drive for Windows
To copy the ISO image onto the USB stick under Windows, we will use Rufus:
- Download and install Rufus
Go to the official Rufus website and download the latest version. - Plug in the USB flash drive
Insert the USB flash drive into your computer. Make sure it does not contain any important data, as it will be erased. - Launch Rufus
Open Rufus and select your USB flash drive from the list of devices. - Select the ISO image
Click Select and choose the ISO image you downloaded. - Configuration options
- Select the partition scheme to MBR (BIOS or UEFI compatible).
- Click Start to create the bootable USB flash drive.
- Wait for the process to finish
Once complete, the USB flash drive is ready to be used to boot into a computer.
1.1. Creating a bootable USB flash drive under Linux
To copy the ISO image to the USB stick under Linux, use the dd command:
- Plug in the USB flash drive
Insert the USB flash drive into your computer and identify its device name (for example/dev/sdb). You can use thelsblkcommand to check. - Copy the ISO image
- Use the following command to copy the ISO image onto the USB stick:
sudo dd if=/path/to/your_image.iso of=/dev/sdX bs=4M status=progress && sync - Replace
/path/to/your_image.isowith the path to your ISO file and/dev/sdXwith the correct name of your USB key (for example/dev/sdb). Warning: This command deletes all the data on the USB key.
- Use the following command to copy the ISO image onto the USB stick:
- Wait for the process to finish
Once complete, the USB flash drive is ready to use.
2. Modify the WireGuard Configuration File (wg0.conf)
Now that the USB key is bootable with Linux, you need to configure WireGuard by modifying the wg0.conf file to add your own VPN account.
- Boot on the USB flash drive
- Insert the USB flash drive into the target computer, reboot it, and access the boot menu (often via
F12,Esc, or another key depending on the manufacturer). - Select the USB key as the boot device.
- Insert the USB flash drive into the target computer, reboot it, and access the boot menu (often via
- Mount the USB Flash Drive Partition (if necessary):
- Log in with the user piguard (ask ofr the apsword to Nothing2Hide)
- The
wg0.conffile is located in the/etc/wireguard/directory on the USB flash drive. - If the partition is not already mounted, you can mount it with the following command:
sudo mount /dev/sdX1 /mnt
This step can be performed under Windows or Linux by plugging in the USB flash drive without rebooting and editing the file directly. On Windows, you will need to install third-party software to write to ext4.
- Open the
wg0.conffile with a text editor. For example, withnano:sudo nano /etc/wireguard/wg0.conf - Example
wg0.conffile:[Interface]Address = 10.0.0.1/24PrivateKey = YOUR_PRIVATE_KEYListenPort = 51820[Peer]PublicKey = PUBLICKEY_SERVERAllowedIPs = 0.0.0.0/0Endpoint = SERVER_VPN:51820 PersistentKeepalive = 25 - Replace
YOUR_PRIVATE_KEYby your private key andVPN_SERVERby the address of your VPN server.
- Save and Exit
To save changes innano, useCtrl+O, thenEnter, and exit withCtrl+X. - Start WireGuard or reboot the computer
Use the following command to start WireGuard:sudo wg-quick up wg0
Useful configuration files path
- /etc/wireguard/wg0.conf: to edit the private key of the device
- /etc/hostapd/hostapd.conf: to edit the wifi name and wifi password
Conclusion
You now have a bootable USB stick with a minimalist Linux configured to work as a Wi-Fi access point, while encapsulating traffic in a WireGuard VPN. Make sure you follow these steps every time you want to update your WireGuard configuration.
SSID: SecureTunnel
Pass: StrongPass!33