
This guide explains how to install a Linux image on a raspberry card from a Windows or Linux system.
- Hardware
- Requirements
- Step 1: download and check the image
- Step 2: Installing the image
- Step 3: Configuring your PiGuard
- Step 4: Inserting the card
- Step 5: Connecting the Raspberry Pi
Hardware
PiGuard is based on cheap and easy-to-find Raspberry Pi servers.
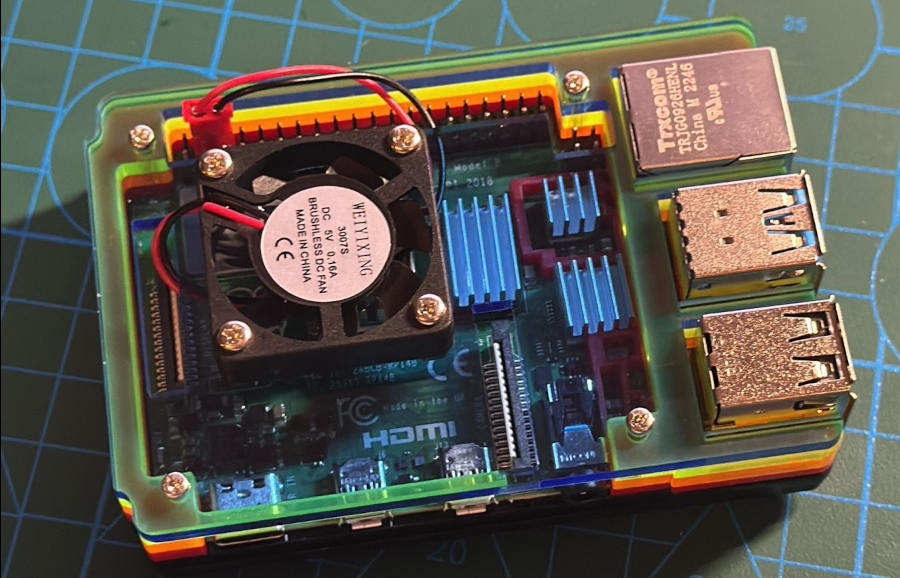
Guide price for all components: €110.
- Case for Raspberry Pi 4 Model B 4 GB: €75
- Case for Raspberry Pi 4: €6
- 16 GB micro SD card: €14
- Power supply for Raspberry Pi 4: €10
- Ethernet cable (RJ 45): €5
- Optional
- :
- PiGuard can also be used on the move by connecting a 4G USB modem key and battery to the Raspberry Pi.
- 4G modem: €70
- USB C battery: €20
Requirements
- A computer running Windows 10, Linux or Mac OS X
- On Windows, you will need to install Linux File Systems for Windows or Linux sub system to read EXT4 partition
- An SD card reader
- Pi Imager software from the Raspberrypi foundation to install the PiGuard system on the micro SD card.
Step 1: download and check the image
From the https://repo.nothing2hide.org page, download the latest version of the PiGuard system.
Once the download has been completed, we invite you to check it. To do this, on Windows, install Quick HASH. Once launched, check SHA256 in the left-hand column, go to the File tab and fetch the image file.
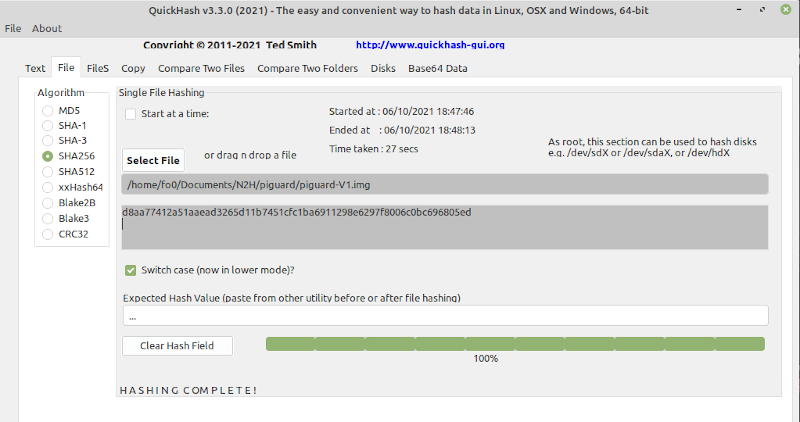
The number that appears should be the same as the one on the https://repo.nothing2hide.org page, down to the last digit. This guarantees the integrity of the file, i.e. that nothing has been tampered with.
Step 2: Installing the image
Install the Pi imager software on your Windows computer.
Insert the SD card into your computer’s card reader and launch the Pi imager software.
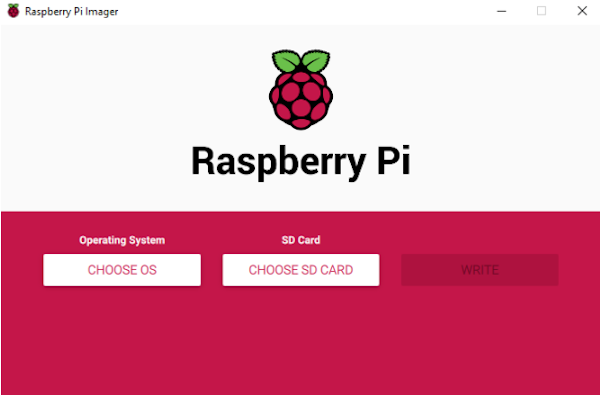
- Choose a model : raspberry 4
- Choose an OS : scroll down to the Use Custom menu (the last one at the bottom). In the menu that appears, find the piguard.img file that you previously downloaded to your computer.
- Choose the storage : select your SD card
After selecting Choose SdCard, you should see your SD card appear. Confirm.
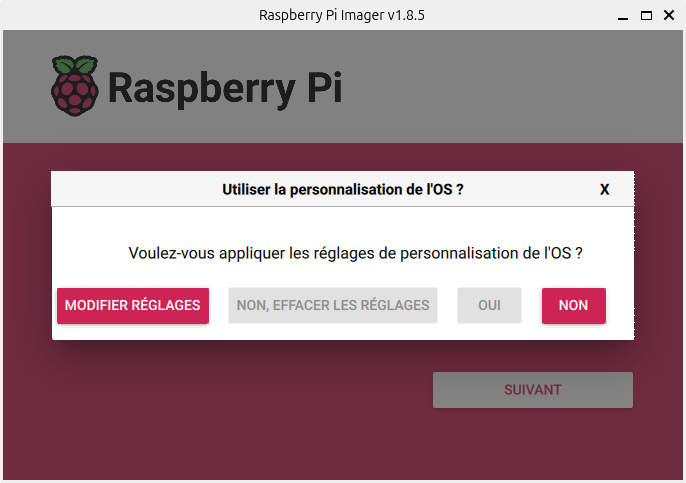
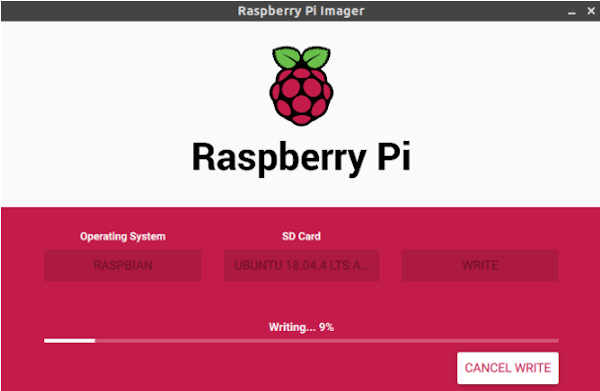
Click Write and wait for the operation to finish:
Step 3: Configuring your PiGuard
Once the image has been burnt, open your file explorer, navigate to your SD card in the rootfs section and open the /etc/wireguard directory. In this directory, place the configuration file supplied by Nothing2Hide.
On Windows, to be able to read the SD card once it has been burnt, you must either install the Linux File Systems for Windows software for Windows or install the Linux sub-system to access the SD card file system, which after installation is in Linux format (EXT4) rather than Windows format.
Step 4: Inserting the card
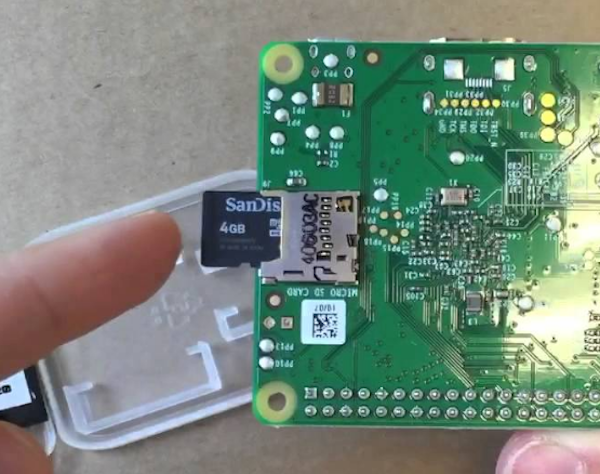
Insert the sdcard into the slot on the back of the raspberry Pi as shown in the image below:
Step 5: Connecting the Raspberry Pi
- Connect the Ethernet cable to your ASL/Fibre Modem
- or plug the 4G dongle into one of the raspberry pi’s USB ports
- Connect your Raspberry Pi to the mains
- or plug your battery into the power port on your raspberry pi
- Wait for the red LED to stop flashing. A new Wifi network called Piguard will appear.
Now all you have to do is set up your devices to connect to the Piguard WiFi network using the password supplied by us.
To test that your PiGuard is working properly when you first start it up, go to https://whatismyip.com and check that your connection is located in another country.